How to Change a Flat Tire
Learning the Basics of This Essential Vehicle Repair Skill
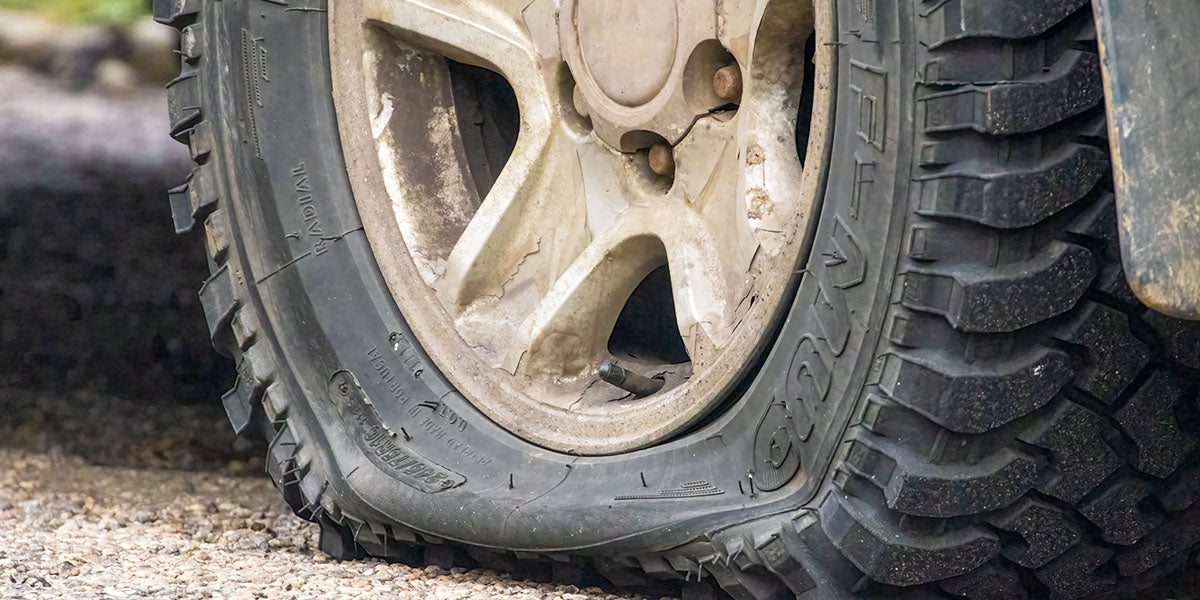
Getting a flat tire can happen to anyone, often when you least expect it. Knowing how to change a flat tire is a crucial skill for any driver. This guide will walk you through the process step by step, so you can handle a flat tire quickly and safely in 2026.


Preparation: Tools and Safety Measures
Before you start changing a tire, make sure you have the necessary tools and take the right safety precautions.
Essential Tools to Keep in Your Vehicle
- Spare Tire: Ensure it is properly inflated and ready to use.
- Car Jack: Used to lift your vehicle safely.
- Lug Wrench: For loosening and tightening lug nuts.
- Wheel Wedge: Prevents your vehicle from rolling.
- Vehicle Owner’s Manual: Reference for your specific vehicle.
- Flashlight: Essential for nighttime or low-light situations.
- Reflective Triangles or Flares: Alerts other drivers to your presence.
Safety First
- Find a Safe Location: Pull over to a flat area, at least six feet from moving traffic.
- Turn on Hazard Lights: Warns other drivers you are stopped.
- Apply the Parking Brake: Prevents your vehicle from moving.
- Use Wheel Wedges: Place wedges in front of and behind the appropriate tires to secure the vehicle.
Step-by-Step Guide to Changing a Flat Tire
Follow these steps to change your flat tire safely and efficiently:
Step 1: Prepare the Vehicle
Shift your vehicle into “Park” and engage the parking brake. Place wheel wedges in front of and behind the wheel opposite the flat. If changing a rear tire, place wedges at the front tire on the same side.
Step 2: Loosen the Lug Nuts
Use the lug wrench to turn the lug nuts counterclockwise. Loosen them slightly, but do not remove them yet.
Step 3: Lift the Vehicle
Consult your owner’s manual for the correct jack placement. Use the car jack to lift the vehicle about six inches off the ground. Make sure the vehicle is stable before proceeding.
Step 4: Remove the Lug Nuts and Tire
Fully remove the loosened lug nuts and keep them in a safe place. Carefully remove the flat tire by pulling it toward you. For added safety, place the flat tire under the vehicle as a precaution in case the jack fails.
Step 5: Mount the Spare Tire
Align the spare tire with the lug bolts and push it onto the hub. Hand-tighten the lug nuts, but do not fully tighten yet. Spin the tire to ensure it is seated properly.
Step 6: Lower the Vehicle and Tighten the Lug Nuts
Lower the vehicle back to the ground using the jack. Once the tire is firmly on the ground, tighten the lug nuts securely in a star pattern. Remove the jack and place the flat tire in your trunk. Double-check for any tools or loose items around your vehicle.
Step 7: Check the Spare Tire’s Pressure
Before driving, check the spare tire’s air pressure. Refer to your owner’s manual for the recommended pressure.

Changing Your Flat Tire Like a Pro
Mastering how to change a flat tire helps you get back on the road quickly and safely. Always keep your tools organized, check your spare tire regularly, and consider practicing at home so you’re prepared for any flat tire emergency.
Frequently Asked Questions
How long can I drive on a spare tire?
Spare tires are intended for short-term use only. You should drive no more than 50 miles on a spare tire before replacing it with a regular tire.
Do I need to balance the spare tire?
Spare tires are generally balanced at the factory. If you notice vibration while driving, pull over safely and check the installation or replace the tire as soon as possible.
Can I change a tire on a hill?
Changing a tire on an incline is not recommended. If you have no other option, make sure the vehicle is secured with wheel blocks before lifting it.
Can I change a tire at night?
Yes, you can change a tire at night. Always use a flashlight, reflective triangles, flares, and a reflective vest to ensure your safety and visibility to other drivers.